Tag Archives: garlic

Fosters Can Turkey with Rosemary Garlic Mashed Potatoes

It is what it looks like

Ever heard of beer can chicken?  Well, this is beer can turkey.  I have been slow grilling a lot recently and am trying to make the most of the ending summer 😦  I had never heard of this and wanted to give it a try.  Whereas a standard 12 oz can works well for a chicken, I used a Fosters “oil can” which is 25.4 ounces.

First with the grill.  This time I started the charcoal and once it was ashed over, pushed it all to the outer edges to make a ring.

I put a disposable foil baking dish in the center as a drip pan

While the coals were heating up, I prepared the turkey and the can.  I covered the turkey with a store bought rotisserie chicken rub.  Leave about half of the beer in the can, with the other half you figure it out.  Once it was magically half empty, I removed the top with a can opener.  This worked really well and there were no sharp edges.  I then added bay leaves, garlic, and rosemary to the beer.

Good ol oil can

With the bay leaves and spices

Now the grill, turkey, and can were ready.  I placed the can on the grill and lowered the turkey down onto it and pushed it down a bit to make sure that it was stable.

Now for the cooking.  I thought that this might be a problem and it was.  The turkey was too tall to close the lid all of the way, so I quickly Macgyvered a contraption by using two bricks on the handles for the lid to rest on.

2 bricks, a grill, a novelty beer can, and a turkey, what do you do???

I was concerned about the heat loss from the semi open lid but it was not a factor and the bird cooked much quicker than I thought it would.  The whole 12 lb turkey was finished in about 2-2.5 hours.

Sorry we did not get a pic while it was still standing

Towards the end of the turkey, I prepared the mashed potatoes by boiling them and then sauteing the aromatics.

These smelled great!

Once they were tender, add the potatoes and milk and whip with an electric mixer.

It turned out to be great dinner!

Recipe for Rosemary Garlic Mashed Potatoes

Greg

Crispy Fried Eggplant and Mozzarella Finger Sandwiches

I am sorry to say that most of these pictures are slightly out of focus. Our camera has a mind of it’s own sometimes and I just couldn’t get it to agree with me when I was cooking today. I was also running around the kitchen, cooking and trying to take pictures all at the same time. I apologize in advance, but hopefully that won’t deter you from enjoying this recipe!

Believe it or not, I found this recipe in a Suzanne Somer’s book several years ago. It has been a while since I made it, but I had a bunch of little eggplants and some fresh mozzarella in the fridge so I gave it a go.

These guys were little.  I got them from a farmer’s market (this is about half of what I got for $2.50).

The first step was to slice up the eggplant and roast the slices in the oven for about 20 minutes with a little olive oil and salt and pepper.

While the eggplant was cooking, I made the herb spread (aka pesto), which was comprised of garlic, basil, oregano (which I substituted for parsley), red pepper flakes, and olive oil. I used the bullet for this.

I also prepped my work station for the next steps of the recipe. I used fresh mozzarella for the sandwiches, but if you don’t have any on hand you can use shredded or sliced. There is something about the way fresh mozzarella melts though that makes it extra special, so I definitely recommend it for this dish.

After assembling the sandwiches, the next step is to dip them in egg and coat them with grated cheese. So I prepped my egg dip and cheese for that as well.

Now for the sandwich assembly…

Basically all you do is take a slice of eggplant and spoon the herb spread over it. Add the mozzarella and then put a second slice of eggplant on top. Easy peasy.

Next, dip the sandwich into the egg and then roll it around in the grated cheese to coat.

Once you have all of your sandwiches coated it’s time to fry ’em up. They just need a couple minutes per side. Enough time for the cheese in the center to melt and for the eggplant to turn a nice golden brown.

When they are done place them onto a paper towel covered plate to drain any excess oil. Serve ’em up nice and hot and feel free to add any fillings you like. I’ve added roasted red peppers before, for example. They are also good served with marinara sauce on the side for dipping if you’d like.

Yum! These are so good!

Recipe for Crispy Fried Eggplant and Mozzarella Finger Sandwiches

-Eileen

Slow Smoked Brisket with Horseradish Sauce and Broccoli Slaw

This is our first Kittened dish in Pittsburgh and we have been discovering that food is very cheap.  This was a 9lb cut of brisket for $30, and that was not a sale.  Plenty more to come on the great deals found.  I smoked this similarly to the pork shoulder a bit back.  Slow cooked over indirect heat, but this time it was cooked as the debut dish on our new charcoal grill that we got for our wedding (thanks Mo and Stosh).

First to prep the rub

Started with a quick made rub.

Yeah, $30!

As similar to the pork, I started the grill with a large pile of charcoal and once it was ashed and ready, it was moved and kept to one side.  I also used a store bought foil baking dish as a drip tray below the meat to limit the mess and possible flare up.

The grill will never look like this again.

Opposite the coals

Now a lot of waiting.  The grill was covered with the below air intake about halfway open and the lid air intake also about halfway open.  The lid intake was placed over the meat, opposite the coals so that the heat and smoke are forced to go around the meat in order to escape.  The brisket cooked for about 5 hours total.  Here is is about halfway through.  I turned it about every hour to alternate the side facing the heat.

About 3 hours in.

And after all five hours.

Allow the meat to sit for 15 minutes or so before slicing and always slice against the grain.  It would be great to have a deli slicer here, but that is a bit excessive!

Patient, patient

Hey guys, Eileen here. I am going to fill you in on the sides, which I was responsible for making.

In addition to the brisket, we served a simple horseradish sauce from all recipes (sorry, no pictures of it) and a broccoli slaw from Smitten Kitchen. I have made this broccoli slaw once before for a cook out and people seemed to like it. I decided to make it again, figuring it would be a nice complement to the meat and tangy horseradish sauce.

First, I made the dressing for the slaw, which is composed of buttermilk, mayonnaise, cider vinegar, sugar and shallots.

Give it a good whisk and set aside.

Next, it is time for the broccoli. I used the slicing blade on my food processor to cut the broccoli for me. This method is a major time saver and produces pretty uniform slices of broccoli. Here it is pictured with chopped red onion as well.

To this, I added dried cranberries and sliced almonds and eventually the dressing.

Give it all a good stir and let it sit in the fridge for an hour or so before serving.

It’s a great slaw and a bit different than your typical cabbage slaw. If you are looking for something new to have or bring to an event this could be it! The crunch of the broccoli with the tartness of the cranberries and the sharpness of the red onion are all tamed by the buttermilk sauce. It was a great compliment to the brisket too!

All in all, this meal was delicious! We were very happy with the final product and our guests seemed to be too.

Brisket Dry Rub Recipe

Stuffed Banana Peppers

These were simple and good but they sure were hot!  Start by making the stuffing which was primarily hot sausage with chopped onion, garlic, and Italian cheese.  Make the stuffing with the proportions of your choice.

Cook the sausage about half way and drain the grease.

Add the other ingredients once the sausage is ready and put aside.

Cut the stems off of the peppers and remove the seeds and pulp.  You may want to wear gloves and be sure not to touch your face….TRUST ME!

Then stuff as much filling as you can into the peppers and line in a baking dish.

Cover with a bit of tomato sauce and bake at 350 for about 20 minutes.

We put them on a bit of pasta to cut the heat of the peppers.

Enjoy!

Greg

Crab Pesto Grilled Pizza

Yes another crab dish and I think that this may have been the best one yet.  We had a hankering for some pizza and being that we live in Maryland, making your own pizza is the only option.  So we stopped at Marchone’s Italian Market in Wheaton and grabbed a frozen dough ball.

A thorough thaw is very important

This was about 2 hours of thawing and the dough had expanded to about twice the original size.

Thoroughly thawed and ready to work with

If the dough is not thawed to room temperature, it will be very difficult to work with which I have learned from experience.  At the same time, you can’t work with the dough too much and remember that flour is your friend!

I rolled the dough out to the desired size while the grill was heating up.  Once the dough and grill are ready, give the top of the dough a thorough spray of oil.  You will then put the dough on the grill otherwise plain.

Straight on the grate oil side down and plain

Leave the dough on for about 3-5 minutes.  Just until the down side is lightly browned and basically firm enough to pick the whole piece up without folding and flopping like raw dough.

We need a new grill!

The bottom of this piece is uncooked.  The top would look better if we had a better grill that cooked evenly(grill companies we are looking for a sponsor!).  When we move, the gas grill is not coming.  The grill doesn’t know that, but I guess once this is published the news will be out.

Now it is time to dress the pizza with your toppings as you normally would and then throw it back on the grill.  Instead of a red sauce we used a pesto base.

Summer basil is great

Next we used some more of the famous leftover crab which was starting to run low.  Note that this was published well after the dish was made and we did not keep fresh crab in the fridge for 3 weeks.

We were able to be pretty generous with the crab since we had so much.  This was almost but not quite a pound.

Cheese it up

We used a store bought Italian blend.

Fresh tomatoes

We love fresh tomato slices on pizza.  Now it is ready to go back on the grill for a little longer than the plain dough.

Close the lid, which will help to melt the cheese.  I gave it a few turns because of our extremely uneven grill as you can see the full blast flame or no flame options.  It would be a good idea to give it a spin either way though.  This stage will take closer to 7-9 minutes to melt the cheese and cook the pizza through.

Summer basil again

It turned out great!  Slice it up, cheese it up, and go to town!

Recipe for Standard Pesto with Walnut

Greg

(Since I have been begun posting over the last month, we will start to tag our posts)

Slow Cooked Pulled Pork


Pulled Pork

Pork butt also known as Boston butt (not Bill Belichick) was on sale at Harris Teeter for .99 cents a pound which made this 8 pounder quite a deal.  I wanted to slow cook it since it was summer and I had the time, but didn’t want to slow cook it for 14 hours.  I did a bit of an in between method using indirect heat.  First I got the grill started before I prepped the pork.


Keeping all of the heat to one side

I put down a base of charcoal and a few small logs on top as added fuel and to get a smoky flavor.  I kept all of these to one side and started them up planning to put the pork on in about a half an hour.

In the meantime, I prepared the pork.


Fat jackets are gross, but necessary for flavor and tenderness

There was a bone in the meat

Next I took about 8 cloves of garlic and cut them in half.  Then I cut small slits throughout the meat and put the garlic in, making sure it was deep enough that it could not be seen.

You wouldn't know it, but there is a lot of garlic in there

Next I prepared a dry rub by combining some dry seasonings.  I prefer doing this over using a store bought one as they are often packed with sugar and or can be way too salty.


Just pick what you like and mix it up

Then I thoroughly covered the pork on all sides.

Next onto the cooking.  The coals were white and ashed over and the wood was burning and smoking well.  I opened the bottom air intake of the grill about half way and placed the pork on the grate on the opposite side of the heat so that there was nothing underneath it.


The flames will die down when covered but will still be plenty hot

I then covered the grill putting the top air intake over the meat and opening it about halfway also.  This makes the smoke and heat travel over and around the pork in order to escape out of the top.  Opening the intakes up halfway gives the flames enough air to be hot and continue to burn.  To truly slow cook it, you would have barely opened the air valves, but it again would take twice as long (up to 8 hours 0r more).  This is what I meant by using a hybrid method that was still slow (about 5 hours), but not the typical slow cooking process.

After about 2 hours, I opened the grill up and took the whole grate, pork and all, off and placed it aside.  I stirred up the coals, got rid of some of the spent ash, and added a few more coals and small pieces of wood.  Then I turned the pork so that the other side of it was facing the heat source.  It was looking great already and could have probably been eaten, but it would not have been very tender.


After about 2 hours of indirect smoking

This was also going on during the process which really helped. The site's namesake!

I let the charcoal and wood heat back up uncovered for about 10 minutes then put the flipped pork back on.  I checked it in about an hour and flipped it around again, and the same in another hour.

Because the temperature was close enough to what I had wanted it to be and it was getting late, I took the meat off after about 4.5 hours of total cooking time.  This method also uses the fuel very efficiently as the coals could have gone for another few hours.


Got to about 205 degress at its highest

Government official numbers say to cook the pork to 160-170 degrees, but when slow cooking it like this, you want to get it closer to 200 for the tenderness.  This was tender and did come apart pretty easily, but also could have gone for another hour or a little less.  Towards some of the bone, the meat was not as uniformly tender, but was still tender enough.


Finally ready to come off the grill

I let the pork rest for a bit so that it could be handled.  The fat jacket came right off and many other visible fat pockets were easy to remove, though some people(southerners) would keep most of them for the extra flavor.

In the meantime, I cut up some cauliflower and covered it in vinegar and mustard before grilling.  I wanted something tart to contrast the pork and this easy mixture did that well.


Threw it in the grill basket for about 30-40 minutes

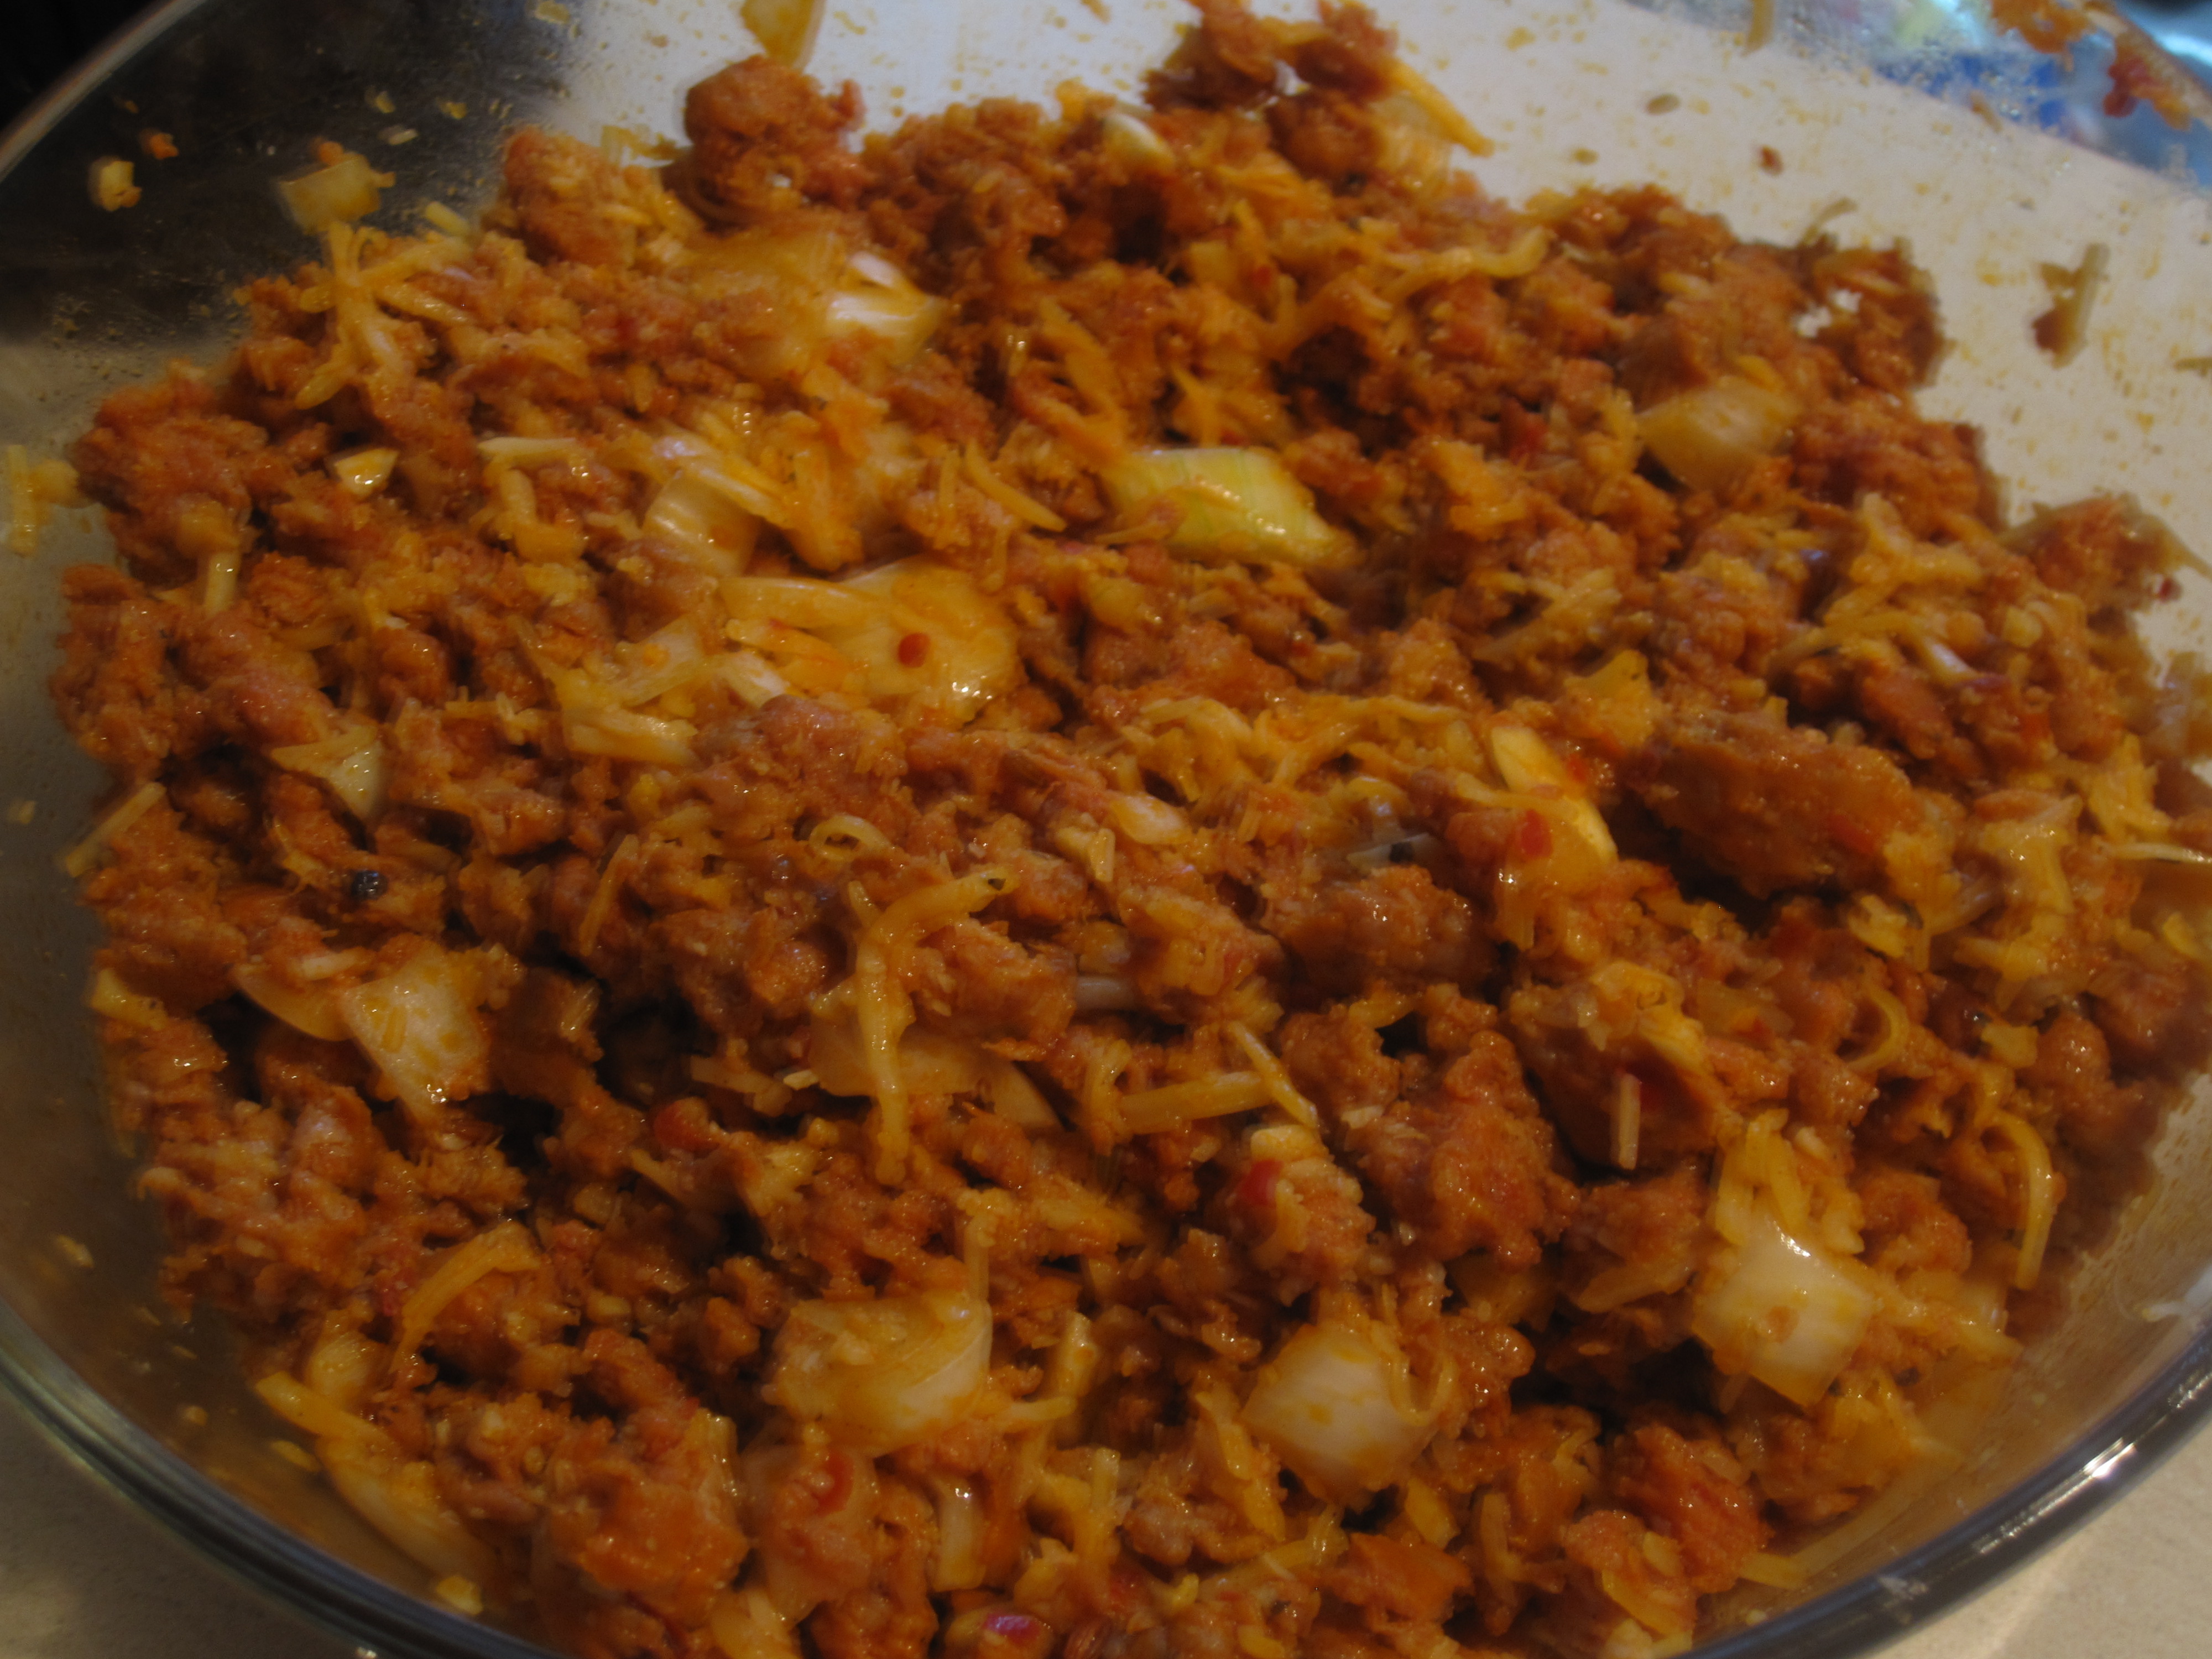
Once the pork was cool enough to handle, I shredded it with two large forks which was pretty easy except for a bit around the bone as mentioned.  The smoky flavor and rub had really penetrated throughout and there were pockets of stronger garlic flavor than others which I considered prizes.


Pulled Pork

We put the pork in a bowl with some cauliflower and ate some plain and ate some with a bit of BBQ sauce.


Was good enough plain

BBQ sauce is good too.

It was great and I am really pleased at how it turned out.  It could have been enjoyed on buns or with slaw or many other ways.  As you may have noticed, we do not know how to cook for 2 people and base our portions on a family of 8 which means that there were tons of leftovers which you will see some uses of in the coming days.  This may sound difficult, but really was not and also did not require a lot of attention.  Don’t put it on and go to the store, but is easy to set up and entertain while the magic happens.


Recipe for Pulled Pork Dry Rub

Seared Salmon Salad with Grilled Tomato and Avacado

Summer!

This was another summery grilling inspiration.  I had a hankering for seared salmon and figured to keep it light by having it on a salad with an oil based dressing.  I also decided to spruce up the salad with some methods that I had never tried and some that were truly experimental, but worked out.  This turned out much better than the last post, but we give you the truth here!

First off the primary ingredient, the salmon.

It did have the skin on it and I had an idea of how to get it off.  I have tried to cut it off, but I always feel like I lose so much in the difficult process.

All dressed up and nowhere to go!

I sprinkled a store bought cajun seasoning on the meat side only.

Next was to prep some of the other salad ingredients.  The first was to prep a foil packet of walnuts, sliced garlic, oil, and salt and pepper.

Ready for the grill

I had never roasted walnuts and garlic on the grill like this but it worked out.  This packet went right onto the grill for about 6-8 minutes each side.  The flavors intermingled well and I threw them right on the salad though I know some would be weary to throw the roasted garlic on the salad.  Feel free to discard it or recycle it for another dish, but I think that it worked out well and was not too overpowering.

Post Grill

That was one of the new methods mentioned, the next is also a new method and one that was truly experimental and I was not sure if it would work out.  I sliced 2 tomatoes in half and an avocado in half, sprayed them with a little oil, sprinkled with a little salt and pepper and then……

Whats next?

Probably not a big surprise, but right on the grill face down!

It worked out just fine and I would suggest it and try it again myself!

Maybe a minute or two less next time though

I wasn’t sure how the avocado would fare on the grill and it could have used a minute or two less but I was able to peel away some of the burnt parts sort of like peeling the blistered skin of a roasted red pepper.  I sliced them and added them to the salad.

Back to the salmon.  I was planning to sear it and placed it skin side down first.

Ok, I forgot my plan and put it down meat side for a second.

Once I flipped it after a few minutes, the skin came right off which was the hopeful plan!

Skin came right off. Nice!

Once the salmon was done, I sliced it and put it atop the rest of the salad ingredients.

We used some olive oil and vinegar as a dressing, though much wasn’t needed since there were so many great flavors.

In addition, I threw a little bit of goat cheese on the salad.  The warm salmon and grilled veggies melted it a bit and the creaminess tasted great.  Overall, was a good meal.

Walnut Pesto Grilled Chicken Thighs

Honestly, this did not turn out great but I am posting it for the basic idea and vision and as some pointers for myself and the readers.  The idea was to grill chicken thighs with a thick walnut pesto paste that was almost like a jerk sauce.  The first step was the sauce and I started that by prepping some garlic to be roasted in foil.

In some foil with a little oil, salt, and pepper

Into the over for about 15-20 minutes.

After the oven

While the garlic was roasting, I harvested some fresh basil from the garden.

Yep, thats basil

Now it was time to combine all of the ingredients and blend them into the paste.

The base ingredients

All of the ingredients

A side view of the many layers. Like a middle school science project

The final blended product which was not so pretty

Once the paste was prepared, I was ready to apply it to the chicken.  I got bone in thighs and took the skin off of about 2/3 of them and left it on the rest.

Dressed up

Then onto the grilling and this is where things started to go astray.  A combination of the oil in the sauce, the fat of the thighs, and the skin of some of the thighs led to the grill seriously flaming up.  I had to turn the gas off and move the chicken to the other side for a bit until the flames died down.  A dirty grill also contributed to the problem.  I was able to save most of the thighs, but some did get pretty scorched.  They were still edible, but some were a bit too blackened for my usual liking.  So I would suggest to use this recipe and bake the thighs instead.  I don’t think it was a flawed recipe, but a flawed method.

These flames are nothing compared to what was to come!

I threw some veggies in the grill basket as a side

We dressed them up with some fresh chopped tomatoes and basil and a sprinkle of Parmesan cheese.  The meal was fine, but not one of our finest.  As mentioned, I think that it would have been better prepared if it were baked and suggest trying that way instead of the grill.

Recipe for Walnut Pesto Paste


Grilled Balsamic Flank Steak

As I flipped through the May issue of Cooking Light I came across recipes for grilled balsamic skirt steak with accompanying sides of tomato, onion and blue cheese salad and garlic sauteed spinach. In! Love at first sight. I felt pretty confident this meal would be a winner and it really was! It’s a great summer time meal and has that complexity and flavor to it that would make any guest think you spent hours in the kitchen, though you secretly know just how easy it was.

For our version of this recipe, we used flank steak instead of skirt steak, since that was what we had in the freezer. For those keeping tabs, it was a beautiful grass-fed flank steak from Trader Joes, Yum.

The marinade for the steak was a little on the sweet side. The ingredients include balsamic vinegar, Worcestershire, brown sugar and garlic. The flavors of the marinade were probably my least favorite part of this meal, ironically though it was what drew me to the recipe in the first place. Next time I think I will go with a standard teriyaki or soy marinade. I like the salt, what can I say. Still though, steak is steak, and so it was still awesomely delicious. The great flavor was intensified by Greg’s masterful slicing- diagonal, across the grain, and very thin- which created extremely tender, melt in your mouth bites of steak. (A true testament to this was that the steak was even good and tender the next day, cold, on a salad!)

In addition to the mouth watering steak, were the fabulous sides that accompanied it. Simple, yet delicious.

The spinach, which I dubbed ‘garlicky spinach’ (so creative, I know), could not be easier to make but tasted so good. We have spinach pretty frequently and often saute it. But for some reason, this spinach was above and beyond what we typically have. It included thinly sliced garlic that first cooked in butter. mmm.

The other side was incredible and so easy to make! Some halved grape tomatoes….

…some minced vidalia onion…

…some vinaigrette…

…blue cheese…

…all stirred together. I make similar side with feta but the blue cheese was an ingenious addition. I really loved this! Next time I make it, I may add some lemon juice for a little more acidity. I used red wine vinegar, though the recipe called for white wine vinegar, which may be why it was quite as acidic as it should be. The vidalia onion was also a pleasant surprise, as I typically would use red onion in this type of side. It’s a much more mellow onion than the onions I typically use and worked nicely not to overpower the tomato and blue cheese.

Here are some more glamor shots of the meal 🙂

Needless to say I really liked this dinner. All the flavors, textures and temperatures of everything worked so well together. The sweetness of the steak was countered nicely by the sharpness of the blue cheese, the flavorful onions, and garlicky spinach. The soft texture of the steak balanced by the crunch of the salad and warmth of the spinach. I could really go on and on… try it and you’ll see!

Recipe for Grilled Balsamic Flank Steak

Recipe for Garlicky Spinach

Recipe for Tomato, Onion, and Blue Cheese Salad

Lamb Shanks Braised in Wine Sauce

You know how when you cook something all day and then when it’s finally ready you don’t take the time to get a good picture? Yeah. That’s what happened here. This also happens to be the smallest of the four lamb shanks we had. Bad picture taking, bad.

In any event, I still wanted to share the recipe, despite the less than desirable way that this photo depicts this meal, because the taste was great and that’s what really counts.

I bought the lamb shanks from the farmer’s market and promptly contacted my dad for a proper recipe. He sent me one from Emeril and it did not disappoint. Greg also made carrots braised in beer and carrot juice, a recipe he tweaked from this one. He added some of his own touches and threw in some broccoli at the end for added veggie power.

To the shanks!

Here they are. There are actually four of them pictured here and they have been sprinkled with cajun seasoning. Emeril calls for “creole seasoning” but I don’t have that in my spice drawer. What I did have though was “cajun” and so we went with that.

I got the dutch oven nice and hot and added some olive oil. When the olive oil was sufficiently hot, I added the shanks to get a nice brown sear on all sides.

Next, I added chopped carrots, onions, and celery to the mix.

Hmmm… what’s missing from this picture? Yeah, the shanks! Guess I didn’t read the recipe well (I looked at a few recipes that day and must have gotten them mixed up) as it says to leave the shanks in when you add the carrots, onions, and celery. Woops.

Next, I added a diced tomato, garlic, wine, stock, thyme and some bay leaves.

Gave it a good stir and look who’s back…. the shanks!

After a frenzied few minutes, it was then time to put the lid on and turn the burner down to low for a long slow simmer.

The shanks braised for nearly two hours.

This is pretty much what they looked like after that time.

The broth or braising liquid was so flavorful. it never did reach a “syrup” like consistency, but it was so good that I considered saving it for something, though I don’t know what. It was amazing though….

To continue with the braising theme, Greg prepped the veggies.

It just would not be a Greg-made dish if onions, garlic and jalapenos were not part of the mix!

The carrots braised in beer and carrot juice and he added a little butter near the end of cooking to make the sauce thicker. The broccoli was a last minute addition.

Despite the fact that the shank looks like a lamb lollipop it was super good! I served it with a small side cup of the braising liquid to dip so each bite had the full effect. The meat was fall off the bone tender and it tasted so fresh and not gamey at all. I am dying to make that mint orzo that Emeril suggests to accompany this with one day. Not only would the flavor and texture be a great match, but it could soak up some of that broth, mmm.

Overall, this recipe was pretty easy to make and once you get it going you can walk away and do other things… so not too labor intensive.